
Molaprise Business Card App
Setup & Support Administration Guide
🛠 I. Deployment (For Azure Administrators)
This guide will walk you through deploying and using the Molaprise Business Card application, a solution for centralized, digital business card hosting. The app is deployed as an Azure Solution Template that places all resources within your Azure subscription.
A. Prerequisites
- Azure Subscription: You must have an active Azure subscription with Owner or Contributor rights.
- Permissions: Global Administrator consent for the initial sign-in is required on first use.
- Required Parameter: User Principal Names (UPNs) of the administrators who need access to the Branding/Admin page.
B. Deployment Steps
- Find the Offer: Navigate to the Azure portal Marketplace and search for “Molaprise Business Card.”
- Start Deployment: Click “Create” to launch the Solution Template wizard.
- Basic Settings:
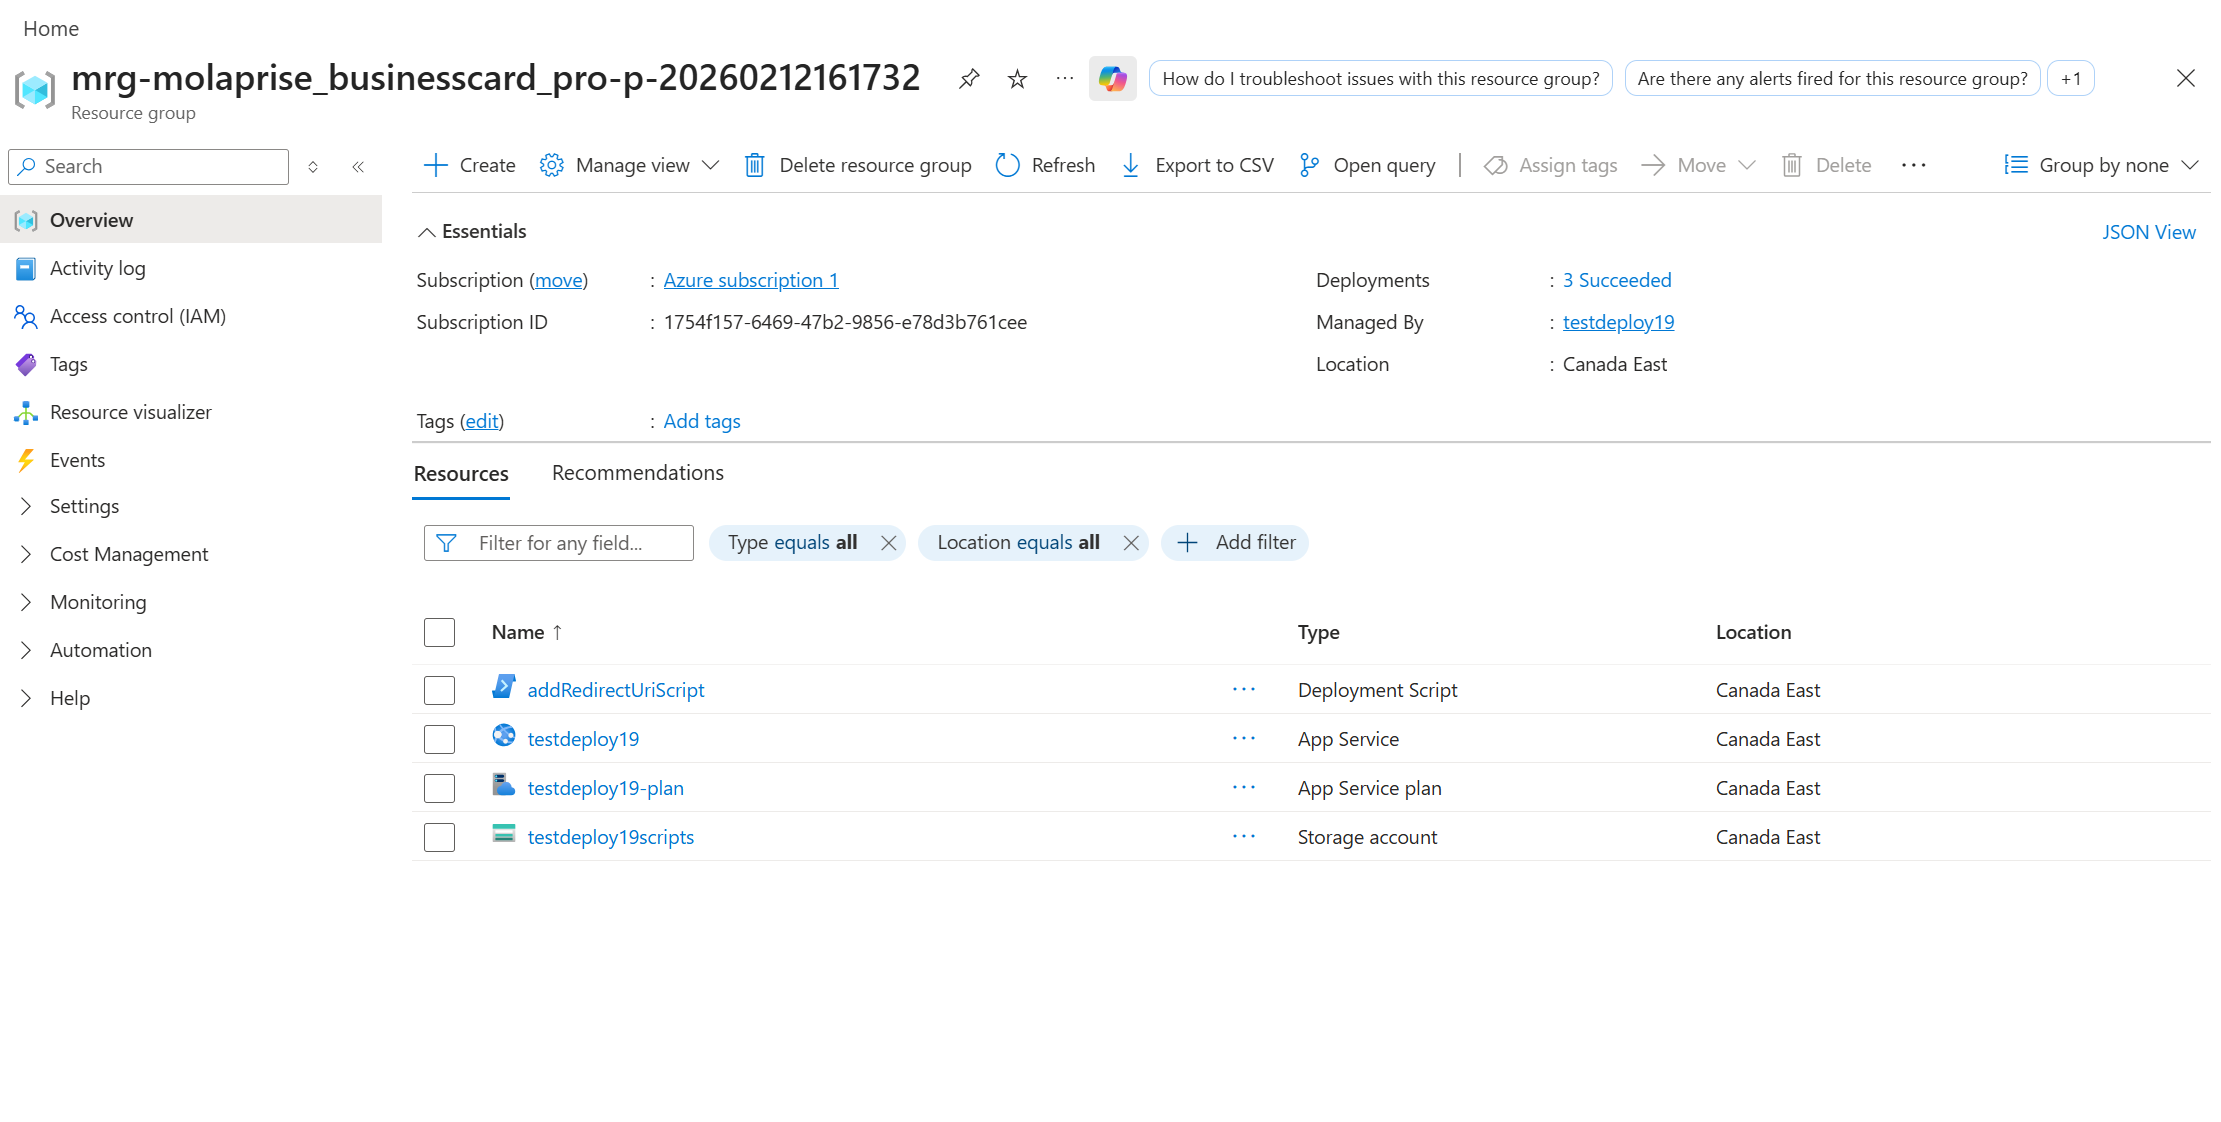
- Select your Subscription and a Resource Group.
- Choose an Azure Region (Note: If deployment fails, try a different region with available resources).
- Application Settings:
- App Name (Required): Enter a unique name (e.g., my-business-cards-us). This forms the web app URL.
- Admin UPNs (Required): Enter a comma-separated list of admin emails (e.g., admin@yourdomain.com).
- Dataverse Environment URL: Pro Version Only Enter your D365 environment URL (e.g., https://myd365.crm.dynamics.com).
- Review and Create: Click “Review + Create” and then “Create.” The ARM template automatically registers redirect URIs.
- Access the App: Once complete (5-10 min), navigate to the deployed Web App resource and click the URL.
🔐 II. First-Time Sign-In & Admin Consent
The app uses Microsoft Entra ID (formerly Azure AD) for authentication and requires Microsoft Graph API access to read profile info (like job titles).
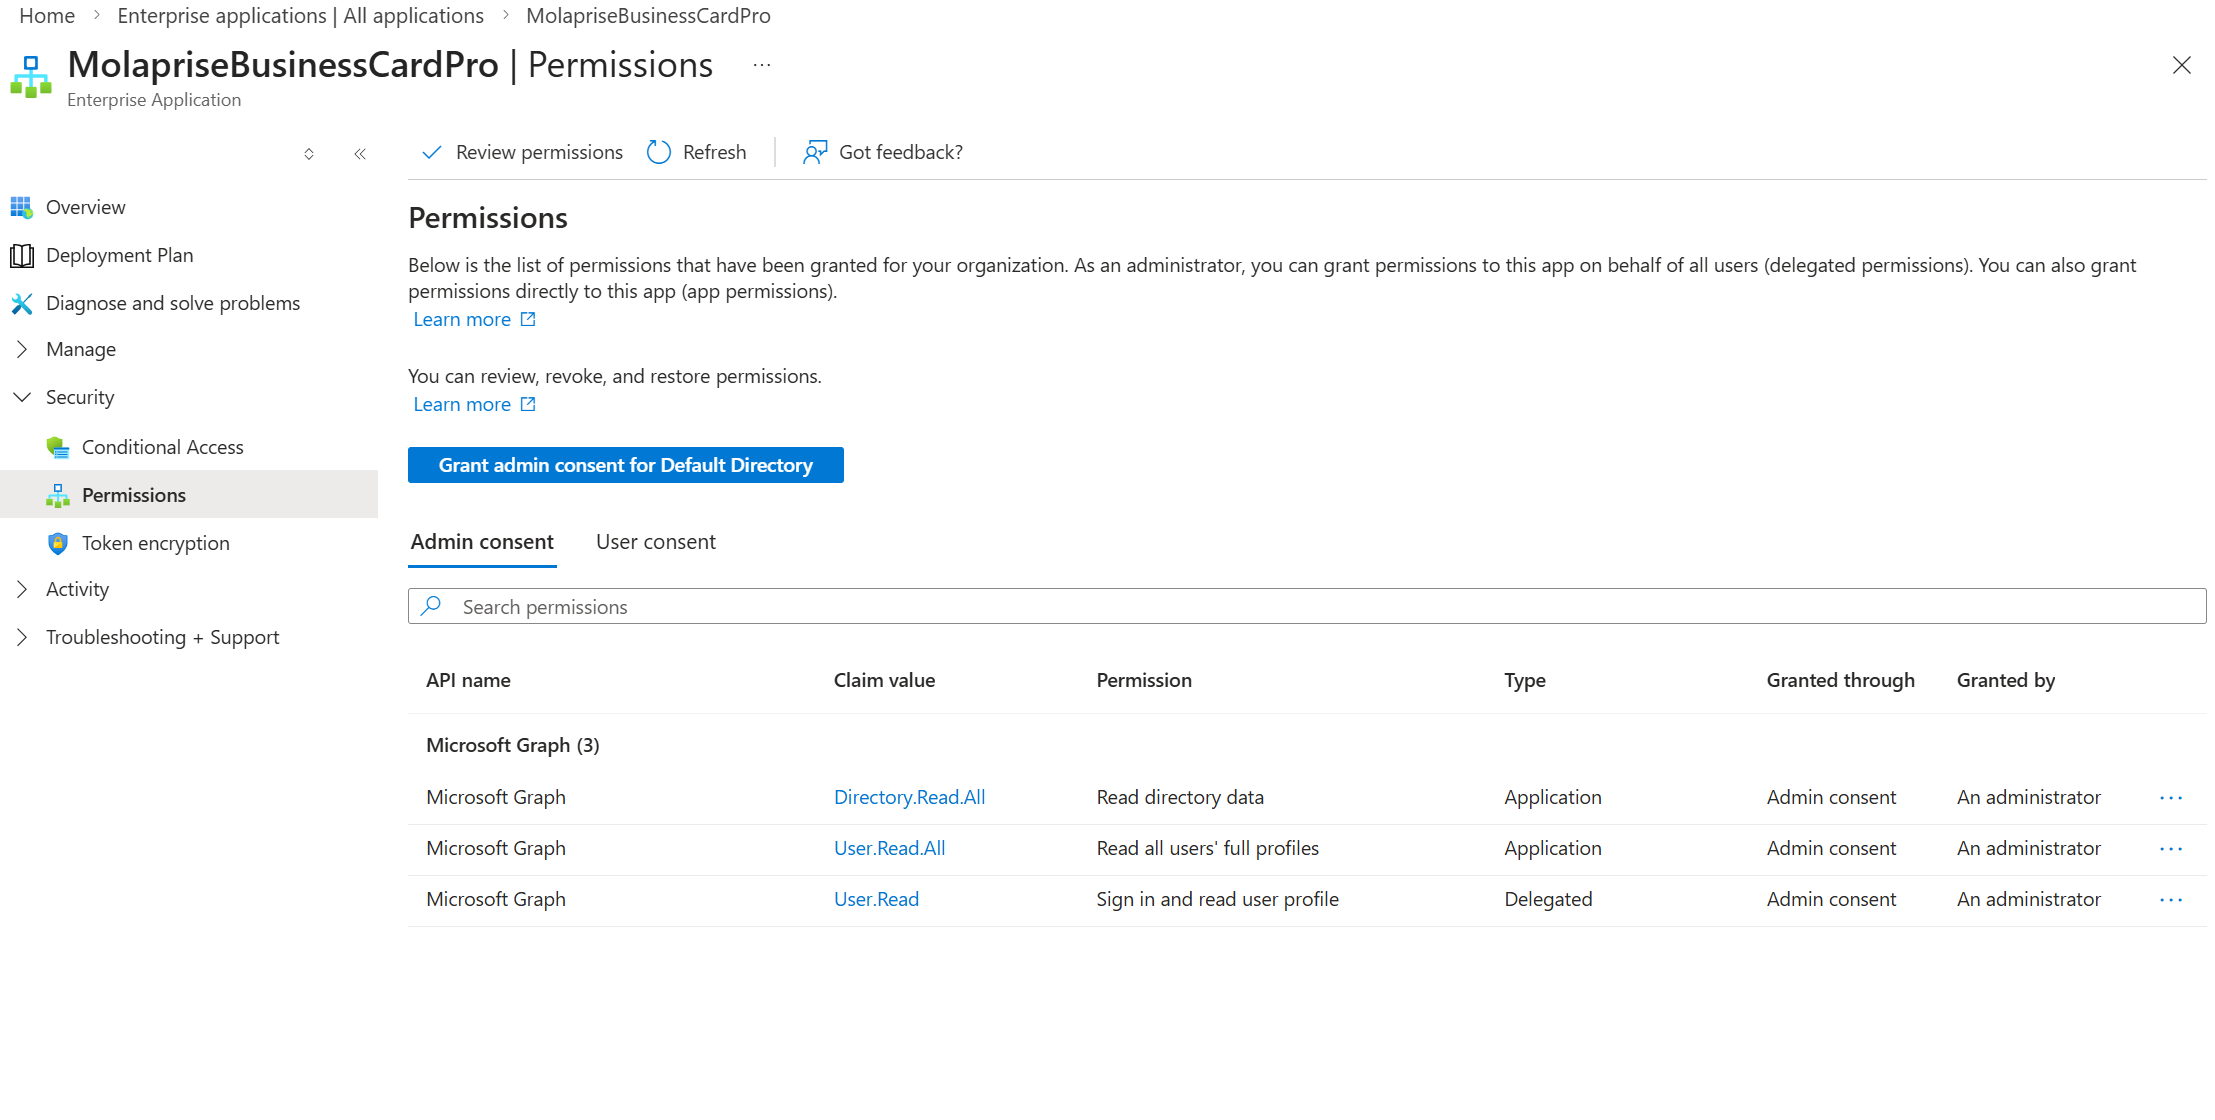
Admin Consent (Crucial Step): Because the app is multi-tenant, a Global Administrator must see the “Accept” button and grant Organization-wide Consent. This ensures all subsequent users can sign in without seeing the prompt. Tenant admin will get prompted for consent automatically when sign into the app.
Manual Consent for Pro Version
- Navigate to Enterprise Applications in the Azure portal.
- Locate the MolapriseBusinessCardPro application.
- Go to Security > Permissions and click “Grant admin consent for Default Directory.”
📊 Setup Permission for Dataverse Pro Only
To allow the application to upload contacts to Dataverse, perform the following setup:
- In Enterprise Applications, locate MolapriseBusinessCardPro and copy the Application ID.
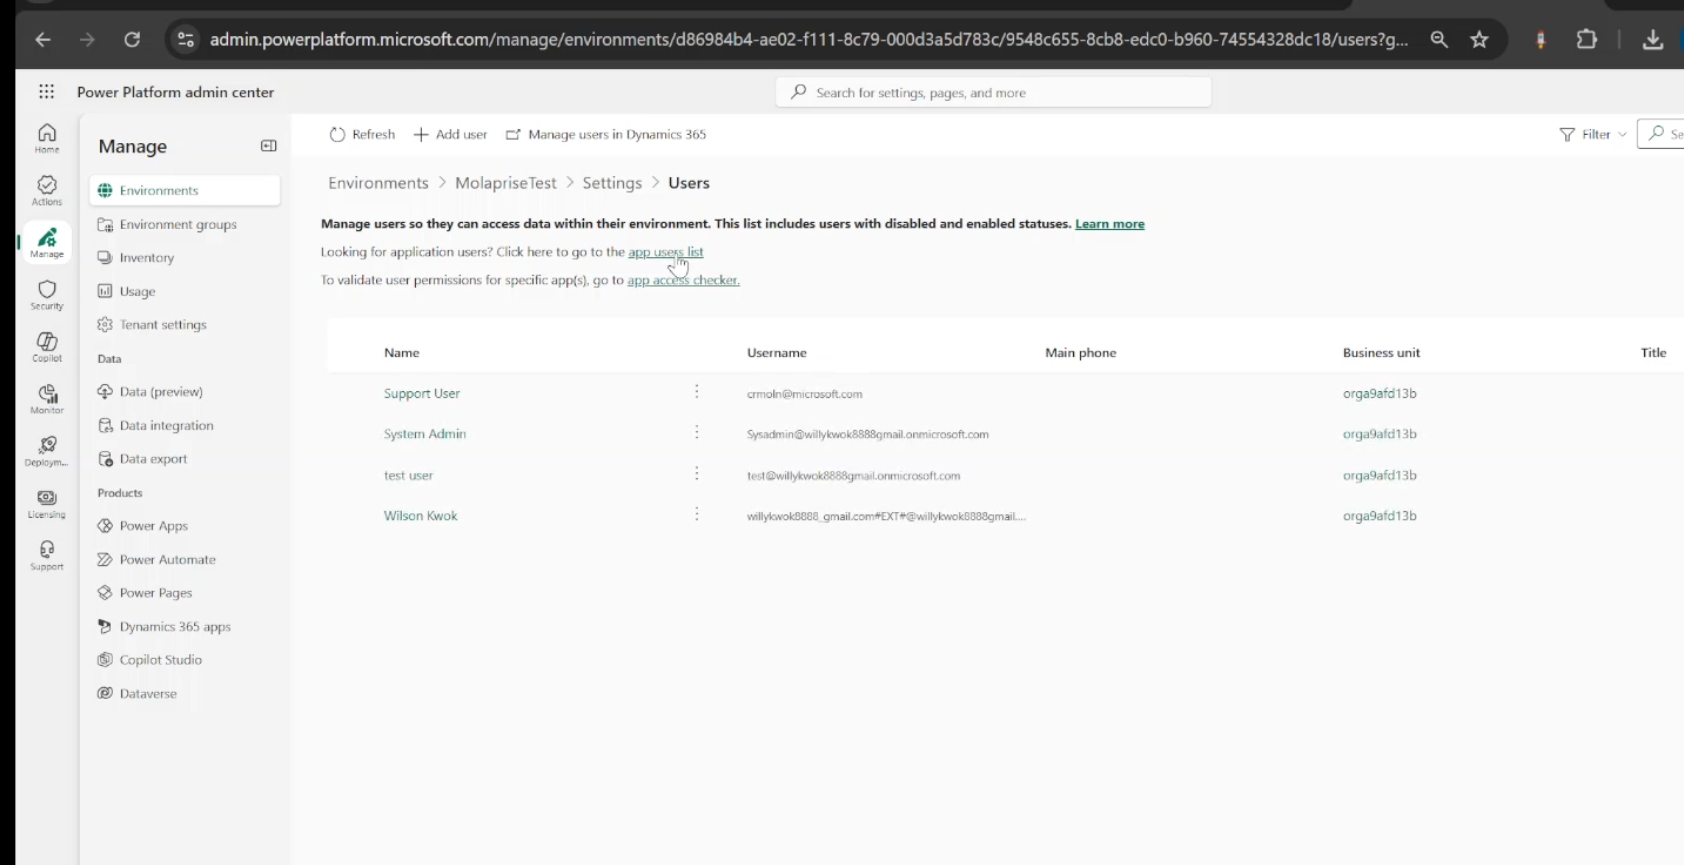
- Go to the Power Platform Admin Center.
- Navigate to your environment > Settings > Users + permissions > Application users.
- Click “Add an app” and paste the Application ID.
- Assign the Salesperson role to the application user so it can submit contacts.
📱 III. Using the Application
A. The Home Page (Your Card): The default page (/) shows your personal business card based on your Azure AD profile (name, title, email, phone).
B. The Admin Branding Page: Accessible only to Admin UPNs at
/admin/branding. Use this to upload your Company Logo and set default company website/phone info.
C. Public Profile Sharing: Profiles are accessible via
[YourAppURL]/profile/{alias}. Users can share their QR code (found on the home page) which links directly to this profile.
🩺 IV. Support & Troubleshooting
| Issue | Resolution |
|---|---|
| 403 Forbidden on /admin/branding | The account is not in the Admin UPNs list specified during deployment. Update the list via the Azure portal deployment parameters. |
| Login error after consent | Verify the user account is active in Entra ID. Check the App Service Log Stream in Azure for detailed error messages. |
| Profile info is incomplete | The app retrieves info from Microsoft Graph. Ensure jobTitle and mobilePhone are populated in Microsoft Entra ID. |